Medieval House - Creating A Base Shape
This is the first part in which we’ll go over creating the base shape and roof of our house.
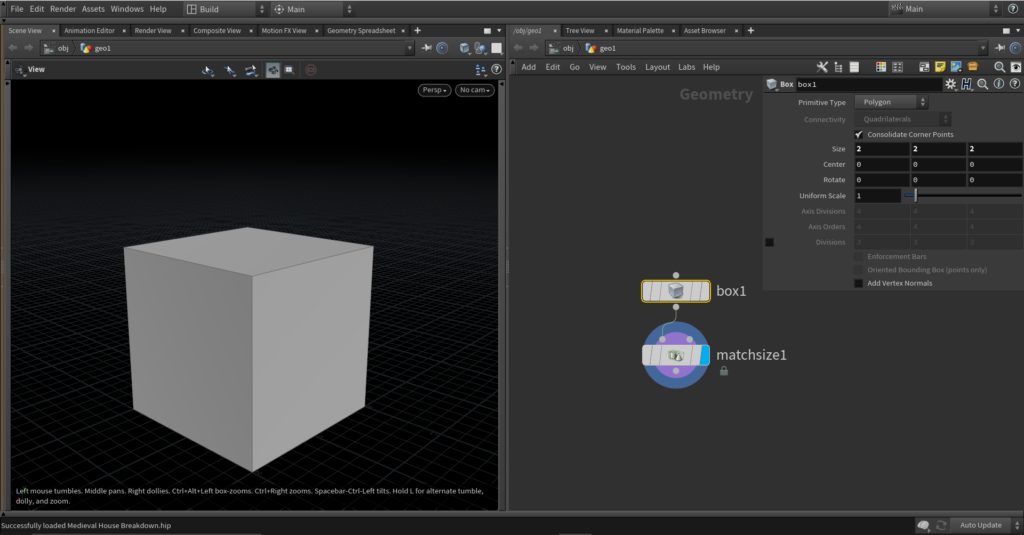
- Start with a box and set it to minimum on all three axes with the match size
- I’ll have my modules 2×2 m so my box will be 2×2 m, set your as big as you need
- We’ll need a for loop with feedback to generate some interesting shapes
- In the loop create a points from volume node and set point separation to maybe half your floor height, we’ll cover the placement of points later
- Append a sort node, set point sort to random and a blast set to points and group 0, delete non selected – this will keep only one point
- Copy to points the original box and merge the two together
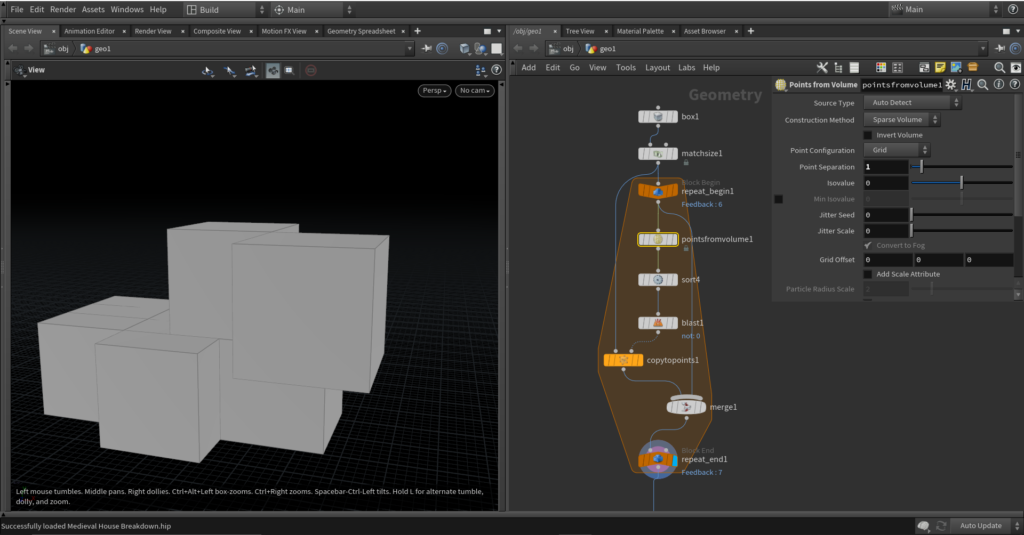
Set the number of iterations to something like 5 and watch it generate your base mesh. Okay just kidding that’s not all, let’s fix this a bit.
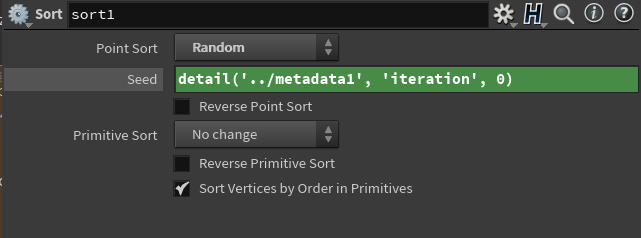
First let’s change the seed in sort every iteration, to do that create a meta import node and in the seed parameter type the following
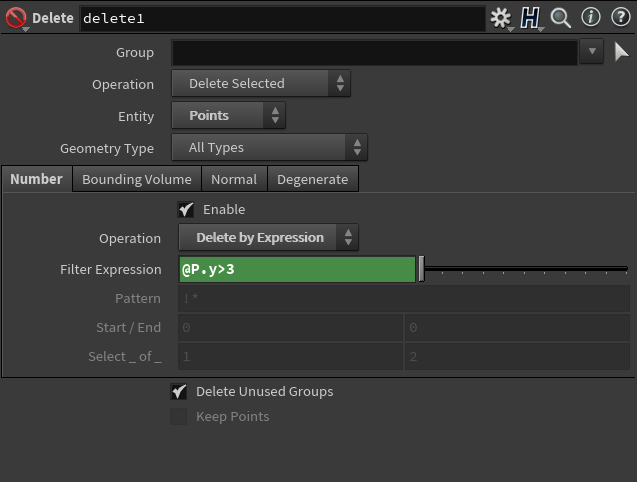
detail('../meta_node_name', 'iteration', 0)Detail function get’s the detail attribute from the given node, in this case node is our meta import node and attribute name is iteration. That will get the current iteration number and use that as a seed. That’s a bit better but now we need to make it down to the ground and not flying up to the sky. For that, after creating points, add a delete sop, choose by expression and write @P.y>{your floor height} in my case 3
Now we have something useable, now we need to adjust what we have here so we can place our modules on the walls. Currently all we have is a bunch of copied boxes, first we need to make that one shape and then we have to snap the points on a grid that matches our module dimensions. Let’s see how to do that.
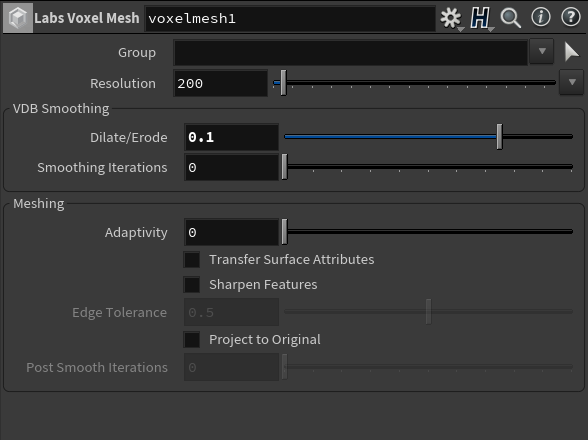
First make one shape from all of this, there are two ways, you can boolean union with nothing, that resolves self intersections, or you can convert it to a volume and then back to polygons, I’ll use the former. There is a SideFX labs tool that does this awesomely called Voxel Mesh so you can use that too, but doing a VDB from polygons and VDB convert is the same, just so you know those nodes aren’t any complicated magic if you dive in you’ll se the setup they used. I’ll use Voxel Mesh and use these settings:
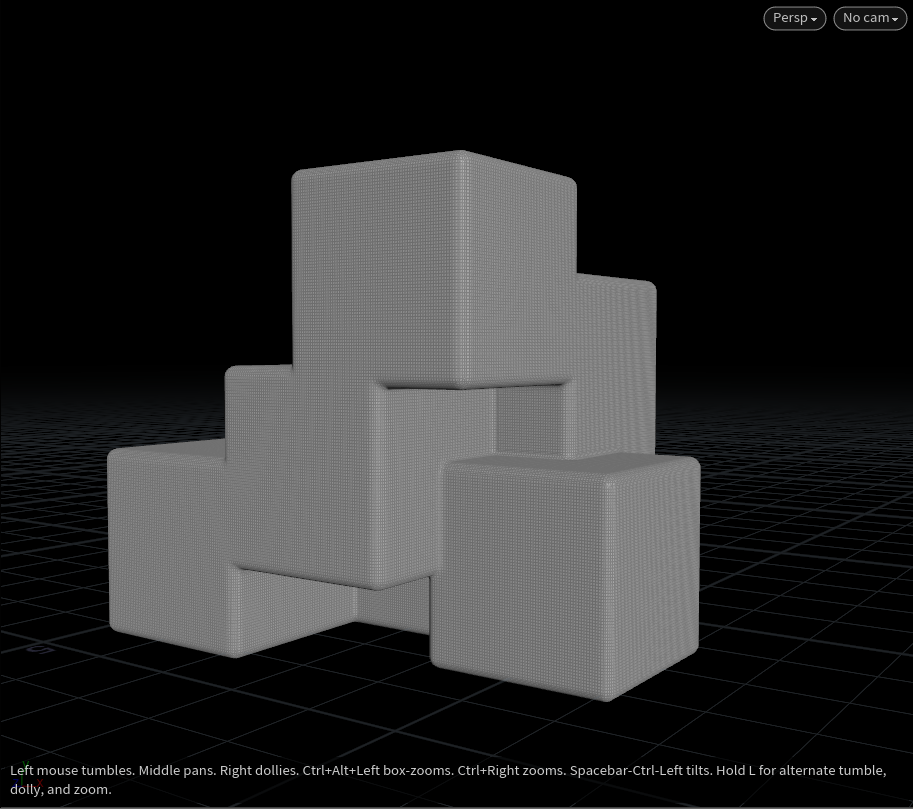
Next step is to snap out points to a grid that matches our module size. In Houdini y axis is up, so on y we need to snap it to our module height and on x and z to our module width. It’s time to write our first bit of VEX. Position attribute is @P, function to round values is rint(). But if we just use rint we would get points snapped to each integer value, instead we do it like this:
@P.y = rint(@P.y/3)*3;This will snap our height to be 3 meters. If you have some other values just replace where 3 is with your height. And do the same for the next to axis.
@P.z = rint(@P.z/2)*2;
@P.x = rint(@P.x/2)*2;
Now you have a bunch of points in the same position. Drop down a fuse sop to get rid of them. Now I run into a problem where sometimes there are hidden inside faces left so just to get rid of them repeat the above three nodes. The last node to put down is facet. Set unique points on, that’ll separate every primitive, which will come in handy later on. Now before you go one more thing, how do you change the shape that’s generated? Well there are two ways, one is to change the seed in the sort node, that is the easy one, other one is to always copy a different size cube each iteration, I’ll leave that for you to figure out how :).
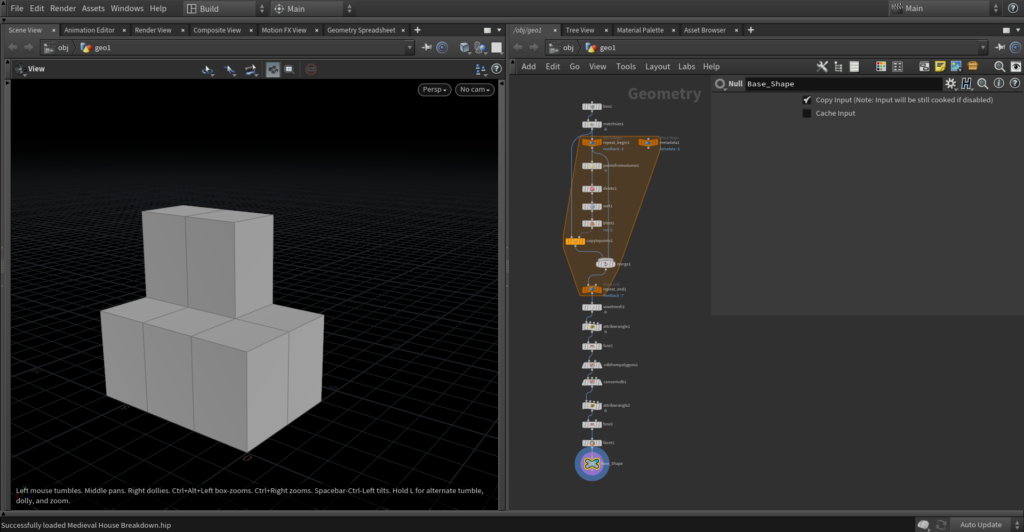
That’s everything we need to create a blockout shape, next on we’ll go over creating the roof base.